
Like many other scrappers this year, I've decided to create an on-going album for 2012 to document our lives. There are resources out there that you can buy to make it a fairly straightforward process by adding photos and ready-made journaling cards to page protectors. I like the idea of this but am, instead, using the many papers and embellishments that I already own to do this along with some new stash that I just fancy the look of!
I've settled on using American Crafts 12x12 page protectors which are divided into 6 6x4" portrait pockets. Using this size means that I can just print off a 6x4 photo and add it to a pocket. What I've also disovered is that 6x6 paper pads are perfect for this project. Each week, I've chosen some sheets of 6x6 papers, trimmed off a 2" strip and used these as bases for each of my mini-layouts to document our week.
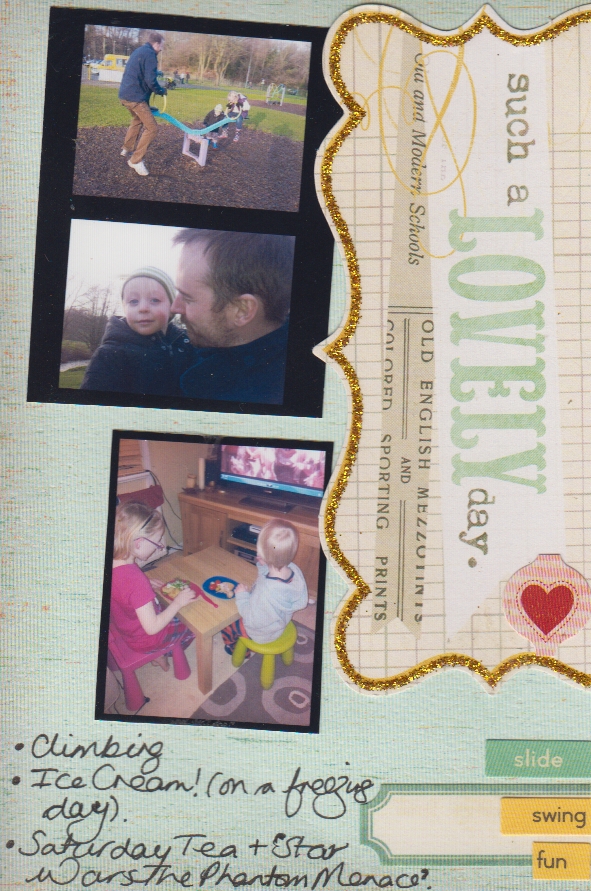
I treat each pocket as a little layout whilst also thinking about the spread as a whole.
These are my weekly spreads for Weeks 3, 4 and 5 of 2012:
I treat each pocket as a little layout whilst also thinking about the spread as a whole.
These are my weekly spreads for Weeks 3, 4 and 5 of 2012:


Weeks three and four use a mix of co-ordinating papers but for week five, I went for an more matching look and kept the background papers the same for the whole of the top and bottom strips:

*The individual cards in more detail:

On this first card, I used a notebook punch to add some interest to the base. The number stickers refer to the journaling on the next card.

The date sticker on this card is from a selection from Jillibean Soup. The frames are American Crafts stamps which I embossed and then cut down to use as embellishements.

This card was all about George and his word of the week. I designed and cut out the speech bubble using my re-discovered Craft Robo. The journaling card is a freebie which I printed and then added the Amy Tangerine paper clip.

The bottom half of this week's page was all about Oliver's trip to Build a Bear Workshop. To keep some uniformity between these three sections, I used the same base papers. I also added some washi tape across two of them to make them appear connected. The other half of one of the stamped frames from a previous card was added here to fill a gap.

I used lots of different stickers on this mini-page. I often cut label stickers down to add as embellishments; it makes them go further this way!. The curvy, glittery cards were actually borders cut from a MME title card. The journaling card is by October Afternoon and I added another shaped paperclip for some more interest to the layout.

Oliver was very poorly last week and this is him looking really sorry for himself. The days of the week are an American Crafts stamp which I randomly placed around the page before circling 'Saturday' and 'Sunday' to show when he was ill during that particular week.

I made the play tag using my Craft Robo and edged it with part of a Jiilibean Soup sticker. The tag was finished off with some twine which I also wrapped around the whole card too. I used number stickers again to link with the journaling card.

To add some colour to the pale background paper, I cut a strip of the blue paper and used a border punch to add interest to the edges. The bullet points were cut using my Crop-o-dile from a matching paper.

In order to fit in a lot of photos from a day out, I created some photo strips. I added a couple of tickets, secured with staples and made a border along the bottom with a number of stickers from a sheet by Fancy Pants.
The 6x4 pockets are the perfect size to use MME title cards on. Here I cut off the top glittery border so that it lay flush with the edge of the card. This also meant that I had some left over which I used on the first card for this week.

To break up the dark background I added a Crate Paper border sticker and some cut up banner stickers from the Fancy Pants sheet.

I used more stickers as embellishemtns here along with a date stamp to record the dates of that week.

To mirror the first card on this top strip, I add another co-ordinating Crate Paper border sticker along the edge.

This final pocket was one of my favourites to make. I designed the 'snow' word and border and cut with my Craft Robo. I found an old piece of Hambly overlay that resembled snowballs/flakes and stuck this on top of a piece of pale blue card after adding some snowflake shapes, tiny punched circles and blue glitter between the layers. When it's all sealed, you can shake the card to make the snowflakes fall.
I have really been enjoying keeping this scrapbook diary of our family life so far this year. Scrapping these small pockets one at a time has kept me on track as I don't feel overwhelmed by completing a whole page in one go, instead I can spend a few minutes here and there over the course of the week, creating a mini-page at a time and then feel a huge amount of satisfaction as I finish the final one and file it away.


6 comments:
Your PL 2012 looks stunning. Loving how you have used the tickets and stickers. Thanks for the inspiration and for sharing some great tips.
I really enjoyed reading this, thanks for all the ideas.
All lovely as ever :)
Love them!
How did you do the photo strips?
I've been doing my photo's as collages but the photo strips look really effective xx
It's all looking really impressive! I'm so impressed you've done so much already. Mine has been reduce to one page protector per month... lol!
WOW - how much have you done. Its all fantastic. :) Vanessa xx
Post a Comment