Hi it's Louise here again with a few LOs to share. At our retreat in March we used an EK Success zig zag punch as part of one of our make and takes. Quite a few people fell in love with the punch so I decided to have a play with it too. I've tried to use the punch in a variety of ways, and hope that I can inspire you to go zig zag crazy.
The first LO is of Drew with my beautiful new (soon to be) God son.
I misted the hexagonal Studio Calico paper with turquoise, using the a Studio Calico mask. I wanted to keep the patterned paper to a minimum on this LO so as not to distract from the gorgeous photo, so I hand cut some hexagons, and positioned them together in clusters.
At the top of the LO I used the punch to create a strip to run across the page, and used it once to punch a section from the blue patterned paper, placing a small piece of kraft behind the negative space.
Here I used the punch to create a chevron block, keeping the bits you usually throw away to form the straight edges.
As soon as I saw the Queen & Co trendy tapes I fell in love with the polka dot patterns, and here I used 2 small pieces to tape the photo into place. The Jenni Bowlin hexagonal stickers were perfect to use to add the date.
On my second LO I used strips of punched zig zags to weave into my patterned paper to create a more interesting background.
After cutting equally spaced vertical lines into the patterned paper, I carefully weaved the strips through, sticking them into position to stop them slipping out.
The red polka dot date was perfect behind the title to help it pop from the page.
At a recent birthday party I took this photo of Drew with his DJ daddy. There were lots of colours in the original photo so I changed it to black and white to make it easier to use.
I punched onto white card once and then cut the from the zig zag design into a straight strip, creating an arrow type embellishment. 3 of these were used together, and the tips were finished off with a piece of trendy tape, folded around the card.
Before misting the background I used 3 pieces of punched out scrap card as a mask. Once the mist had dried, I used a black pen to add shadow to the masked design.
I have had this photo for over a year just waiting to be scrapped. I've scrapped about Drew's obsession with hoovers before, so it will come as little surprise that he had a whale of a time playing with the box our real Henry Hoover came in.
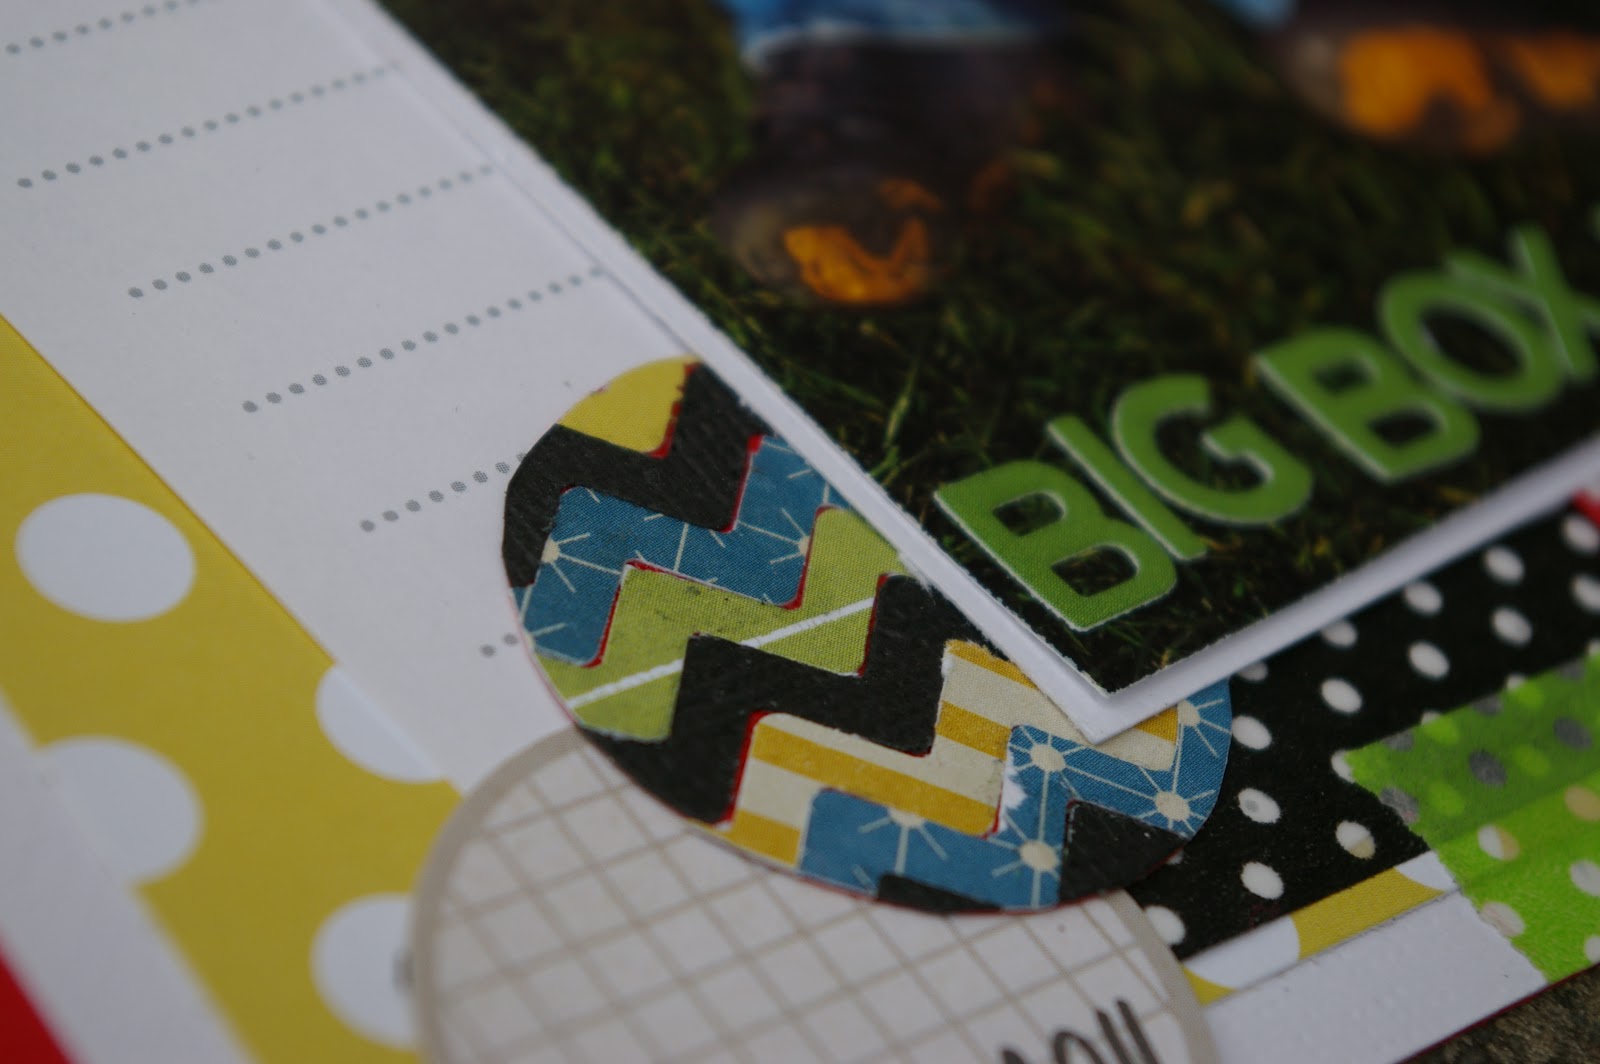
I punched some circles from card and covered them with glue, then added punched strips, so the whole thing was covered. Once the glue was dry, I trimmed the edges, leaving me with really cute and funky chevron/circle embellishments.
At the bottom edge of my LO I punched once through the layers of card and tape, and decided to leave it just like that. I really like this little area of detail.
After stamping with one of the Heidi Swap stamp, I used a craft knife to cut the centre of the frame away. This allowed the trendy tape to be seen in the frame.
Well that's it from me for now. I hope I've inspired you to use the punch if you already have it, and if you haven't got it, I hope you feel like you need it.
If you use the zig zags on your work leave a link in the comments box so we can come and have a look. You can also share your work via our
facebook page.
All the items I used can be seen below, just click on the picture and it'll take you to them in the shop.


5 comments:
Love them all Lou! Really love those funky zig zag covered circles xxx
I love every one of those LOs, Lou - and I NEED that punch. Now. Or sooner ...
absolutely fabulous layouts, really like how you've used the punch as a mask! xx
Need it!!!
Haha, fab layuts as always Lou, loe how you used the punch, especially in creating the little chevron circles - fab xx
Fantastic stuff, really funky and love the zig zag circles :) xx
Vanessa
Post a Comment