Hi, Vanessa here with my post for this month. I've used the Lucky Charm papers from American Crafts to make a few little projects.
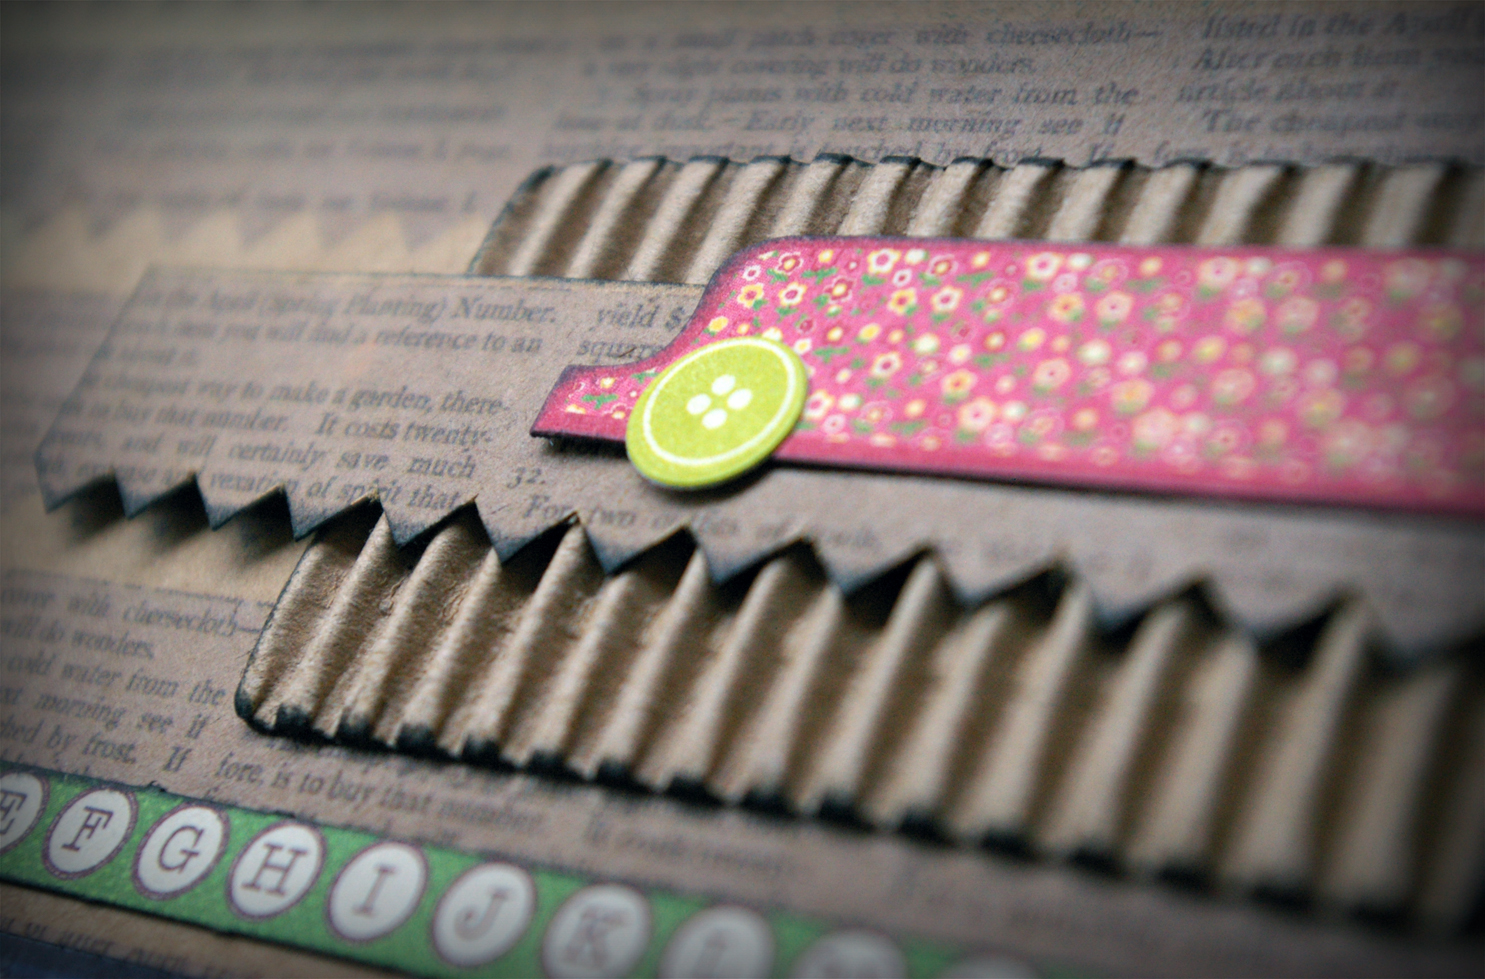
Firstly, I've used the 4 x 8 page protectors to start an album for last years holiday. This is a bit different from me, A4 is my usual scrapping size, but I need a bit of a change without going back to 12 x 12. I've incorporated a bit of embossing and found a way to use some washi tape (go me!) which I just get a total mind-block with.
My second little project is CD envelopes. But, with a difference. I always have receipts lying around everywhere making a mess of the place and I need to keep them until I've done my "housekeeping" budget calculations. I also put vouchers in different places with the intention of using them when I next go to the supermarket etc. But, have a terrible habit of forgetting where they are and miss the deadline date.
I now have handy little envelopes that I can keep them in once place, nice and tidy! Now I just need to train my brain in remembering that I've got them!
Finally, a scrapbook page with some paper rippling (have you still got your rippler from the Sarah's Cards retreat a few years ago?) and a couple of cards.
Thanks for looking.
Vanessa xx
Showing posts with label Thickers. Show all posts
Monday, 22 April 2013
Lucky Charm
Labels:
Adornit,
American Crafts,
Chevrons,
decorative tape,
Embossing,
Flowers,
Glossy Accents,
Lucky Charm,
MME,
pebbles,
Stamping,
Thickers,
Tile Thickers,
Vanessa,
washi tape
Thursday, 21 February 2013
Its a Farm Life!
Hi everyone, its Vanessa here. This month, I am using papers from the Farm Girl range by October Afternoon. I ordered the washi tape from the range too and I know its such a popular medium to use at the moment, the girls have used it in their projects in fabby and ingenious ways, but I really struggle with it! So ...... I thought - have another go, and challenge yourself. :)
Woosh is my first layout, where I've used the tape with twine to make some flags. The tree is hand drawn and cut out. After a little bit of misting, lots of other little pieces cut out from the papers are added.
3 in a Row is next and I as you can see, I've used a couple of strips of washi at the top, but I have also covered some "do it yourself" thickers with the tape, inked the edges and then used glossy accents over the top.
Finally, some little cards for Easter.
Thanks for looking. :)
Woosh is my first layout, where I've used the tape with twine to make some flags. The tree is hand drawn and cut out. After a little bit of misting, lots of other little pieces cut out from the papers are added.
3 in a Row is next and I as you can see, I've used a couple of strips of washi at the top, but I have also covered some "do it yourself" thickers with the tape, inked the edges and then used glossy accents over the top.
Finally, some little cards for Easter.
Thanks for looking. :)
Thursday, 21 June 2012
Life is a Journey
Hi all. I think Claire and me must've been on the same wavelength this month. I've been thinking about doing a few layouts themed around the journey of my life over recent times, which have been the most challenging for a long time and I thought the papers and embellishments from the Teresa Collins World Traveller range would work well - now in the sale! (Just love the trims!)
I've been looking up and reading blogs/websites etc which regularly give positive messages a lot of which have really rung true with me. My first layout is made with one of these images and quotes.
My First layout - Life is a Journey, I decided to blow the dust of my maya road mists and instead of spraying, I unscrewed the lid and randomly dropped the ink over the blank page. The flowers are made up of papers from the 6x6 World Traveller pad and I used some gloss lustre mod podge over the top. The finished page is lightly misted over the top with maya road irridiscent.
My Second layout - On my Way (to getting my life back). This is a short trip I took to Munich with my sister a few months ago. Again, I dropped ink from the mists bottle and spritzed a tiny bit. I've used glossy accents over the top of the photo corner and the two labels "Vacation" and "Journey". Finally, I spritzed irridiscent over the top again.
Thanks for looking and I'll pop back with a few more bits and pieces from the range soon.
I've been looking up and reading blogs/websites etc which regularly give positive messages a lot of which have really rung true with me. My first layout is made with one of these images and quotes.
My First layout - Life is a Journey, I decided to blow the dust of my maya road mists and instead of spraying, I unscrewed the lid and randomly dropped the ink over the blank page. The flowers are made up of papers from the 6x6 World Traveller pad and I used some gloss lustre mod podge over the top. The finished page is lightly misted over the top with maya road irridiscent.
My Second layout - On my Way (to getting my life back). This is a short trip I took to Munich with my sister a few months ago. Again, I dropped ink from the mists bottle and spritzed a tiny bit. I've used glossy accents over the top of the photo corner and the two labels "Vacation" and "Journey". Finally, I spritzed irridiscent over the top again.
Thanks for looking and I'll pop back with a few more bits and pieces from the range soon.
Sunday, 1 January 2012
*Happy New Year*
Hello 2012! I can't believe it's the start of another new year. Time really does fly doesn't it?
Highlight the Eraser tool.
Have you made any resolutions for 2012? I usually make 2 or 3 and by the end of January, if not before they have been broken or forgotten about. Every year I say I'm going to lose weight, and start off with good intentions before falling back into bad habits. This year I have decided to make my quest to 'get to goal' public in a hope that it will make me stay on track. The following LO has a photo taken of me on Boxing Day. Usually I shy away from the camera, and I certainly wouldn't ever have a full length photo taken willingly. This is my before photo, and I plan to include an update on how the diet is going each month for all to see. So now I've put it on here, failure really is not an option for me!
Last year I saw lots of blogs where people used multi photo page protectors to record each month of their year. I have decided to join in this year too. I love the 10 x 12 multi photo page protectors, they are perfect for creating mini LOs, or simply just slotting in a 6 x 4 photo.
Are you planning to record your year in a similar way? It's a perfect way to use up scraps from your kits, and is a really quick way to scrap too.
At this time of year you see a lot of prompts on Facebook/blogs asking about the highs and lows of the past year. The following LO records one of my highs from 2011.... seeing Harry play a camel in the school nativity. We weren't expecting much, as the previous year he had avoided looking at us and had hid his face from the camera, so we were over the moon to see how pleased Harry was to be dressed in a fat camel costume with 'bewuls and wumps' (bells and lumps).
I loved the photo of Harry but the colours of the school hall and the king in the background were quite distracting. I decided to do some spot colour editing so that the focus was on Harry. Here's a little step by step to show you how easy it is to do.
Once your photo is open in Photo shop, go to Layer then Duplicate Layer from the drop down menu.
Save as Background copy.
With the background copy highlighted, go to Enhance, then Adjust Colour and Remove Colour in the drop down menus.
Your photo is now in black and white.
You can select a brush size to suit the photo you are editing. I used 19px. Use your mouse to erase the black and white photo. The colour photo layer underneath shows through.
Zoom in on your photo to erase along the edges of your object/person. On complicated or uneven shapes it is best to work in small sections, so that if you make a mistake and have to use the back arrow, you won't have to redo all your work.
Ta da!!! Done. How easy is that?
I'm all about scrapping real life. The good, the bad, the ugly and the often down right silly! I want my scrapbooks to tell an accurate story of all aspects of my children's lives. Which brings me on to my next LO... the low of 2011.
Last week we had one of the worst days when we were told that our baby was being referred to the hospital for tests and that leukaemia was a possibility. Lots of tears, a drive to the hospital, an examination, a blood test, being admitted on to a ward, and a few hours of waiting and we were given the fantastic news that he didn't have what we were fearing. Thank goodness. We have to go back for another appointment to see why Drew's lymph nodes have been swollen for so long, but the signs are that it's probably just a virus.
I had taken a few photos of Drew sleeping when he first became poorly, and included them with a photo of him playing with the toys on the ward.
The background was created by misting through a Studio Calico mask with 2 colours. I love the subtle effect created.
Most of the highs of my year were shared with friends, and the lows were made easier knowing that I had the support of some very good friends. This brings me onto my final LO, including a photo of my Facebook Friends Matrix.... are you on it? I kept the LO really simple as the photo is so busy. Can you spot Ant and Dec too?
Well that's all from me for another month. I'll be back next month... hopefully a few lbs lighter... wish me luck!
Subscribe to:
Posts (Atom)